David Bowie Aladdin Sane Crochet Lightning Bolt Necklace & Applique- Free Tutorial!
One of my favourite songs ever is Golden Years.
This comes from 2 things. When I was a young, hot, mini skirt wearing, platform stilettoed foxy Amazona (ahem: the late 90s), I was kind of hooking up and fooling around with a particularly good looking and kind of much younger fellow uni student friend (who shall remain nameless but who's name may or may not rhyme with Pole. Oh dear, poor choice of rhyme...)
This comes from 2 things. When I was a young, hot, mini skirt wearing, platform stilettoed foxy Amazona (ahem: the late 90s), I was kind of hooking up and fooling around with a particularly good looking and kind of much younger fellow uni student friend (who shall remain nameless but who's name may or may not rhyme with Pole. Oh dear, poor choice of rhyme...)
Anyway, he loved this song and I think we may have made out to it once or twice. And because we're still buddies who chat every few years, I still love this song.
It also was used in a movie sequence which was one of my all time favourites.
Ah Heath! I still mourn, you studly, beautiful man!
But I digress. I never thought of Bowie as one of my favourite artists, but once I took note of how much of his music was a part of my life, and my regular daily tunes, I realized he was.
At Sonofagun No.2s school, every morning for 3 minutes before the bell rings to start classes, they play music through the loud speakers. Always cool stuff. Sometimes Queen, the Monkees, the Stones, AFL football songs, the Jackson 5. It's the most wonderful thing as the kids skip and dance towards their classrooms.
David Bowie passed away on the 10th of January 2016. When school started back after summer holidays on the 31st of January, they played Bowie every single morning for 2 months.
Which inspired me to make this applique which can be sewn onto t-shirts or bags etc.
The exact same pattern can be used to make the funky little necklace at the top of the page.
Although perhaps not to do this...
The exact same pattern can be used to make the funky little necklace at the top of the page.
The infamous lightning bolt slashed across the face of Aladdin Sane on the cover of that album from 1973.
Whilst Aladdin Sane was a new character, he was described by Bowie as, "Ziggy goes to America..."
Would you like to make one too?
Let's go!
Aladdin Sane Lightning Bolt
What you’ll need:
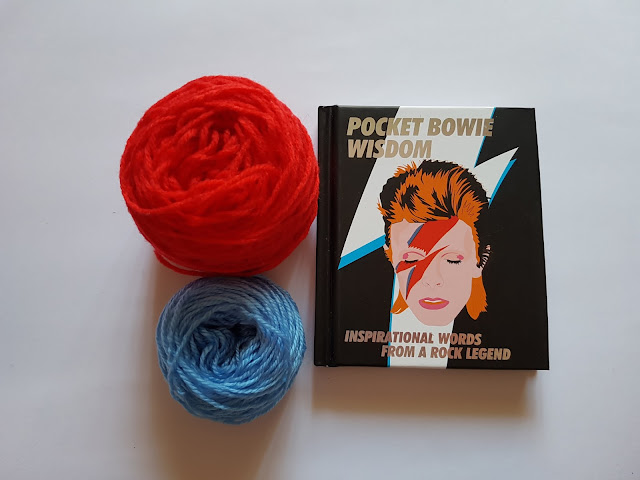
In your choice of yarn, choose a bright red and bright blue
yarn. You can use acrylic, cotton or
whatever you like. You will need to adjust your hook size according to the ply.
For the applique project I
have used an 8 ply acrylic yarn with a 3.5mm hook.
For a 4 ply cotton, I might suggest a 2mm hook.
If you are making a small badge or the necklace and using 2ply cottons (also
known as No.5 by some brands) then possibly a 1.5mm hook.
 |
Scissors
Needle for sewing in ends.
Necklace findings if you are making the necklace or badge backing if you're making a badge!
Necklace findings if you are making the necklace or badge backing if you're making a badge!
Let’s get started!
US crochet terms are used...
The Ch1 stitch at the end of each row (or the beginning of
the next) is not counted as a stitch.
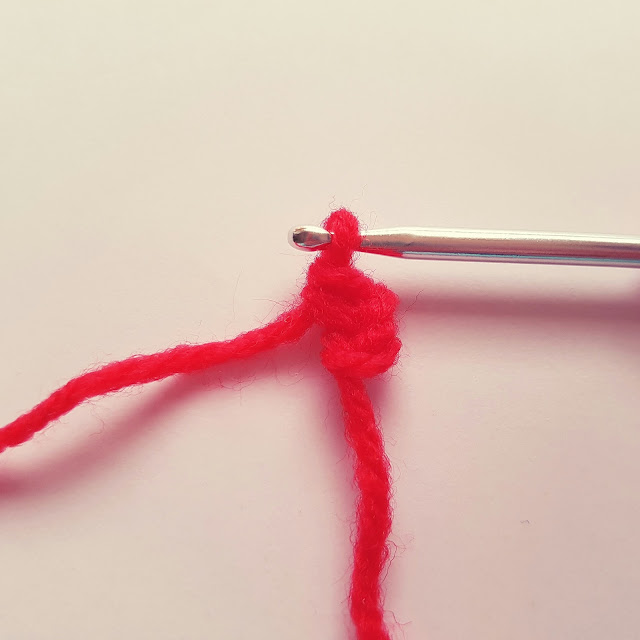
Starting with your red yarn: Chain 2
R 1: Sc in 2nd ch from the hook. Ch 1, turn. [1sc]
R 2: Sc in the sc of the previous row. Ch 1, turn. [1sc]
R 3: 2sc in the sc of the previous row. Ch 1, turn. [2sc]
R 4: 2sc in 1st st, sc in the next st. Ch 1, turn. [3sc]
R 4: 2sc in 1st st, sc in the next st. Ch 1, turn. [3sc]
R 5: Sc in each
st. Ch 1, turn. [3sc]
R 6: 2sc in 1st
st, sc in each of the next 2 st. Ch 1, turn. [4sc]
R 7: Sc in each
st. Ch 1, turn. [4sc]
R 8: 2sc in 1st
st, sc in each of the next 3 st. Ch 1, turn. [5sc]
 |
| At the end of Row 8. |
R 9: Sc in each
st. Ch 1, turn. [5sc]
R 10: 2sc in 1st
st, sc in each of the next 4 st. Ch 1, turn. [6sc]
R 11: Sc in each
st. Ch 1, turn. [6sc]
R 12: 2sc in 1st
st, sc in each of the next 5 st. Ch 1, turn. [7sc]
R 13: Sc in each
st. Ch 1, turn. [7sc]
There’s a little change here Lovelies!!
R 14: 2sc in 1st
st, sc in each of the next 6 st. Ch 5. [8sc, 5ch]
 |
| At the end of Row 14 |
R 15: Starting
from the 2nd ch from the hook, sc in each of the next 4 ch.
Then sc
in each of the next 3 st. Ch 1, turn.
 |
| At the end of Row 15. We are only crocheting 3 stitches into the 1st part of the lightning bolt, then turning to make the top jagged bit. |
R16: 2sc in 1st
st, sc in each of the next 5 st. Sl st in the last st. Ch 1, turn. [7sc, 1slst]
R17: Skip that
last sl st of the previous row. Sc in each of the next 7sc to the end. Ch 1,
turn. [7sc]
 |
| Almost there.... |
Repeat Rows 16 & 17 x 5 (therefore 10 more rows)
finishing with Row 17.
Finish off and sew in ends.
Turn your work as per the image below.
 |
| Turn the work on it's side and work single crochet stitches down the LEFT SIDE of the lightning bolt. |
Join your blue yarn to the right top corner of the piece, Ch
1, then starting in the same space as the Ch 1, evenly single crochet in the
end of each row (of the red yarn) ending with 2sc in the last stitch.
This should give 14 stitches total. You may use more or less
stitches, but you want to have a straight, even line of stitches with the last
two creating an almost sharp point.
This may be only 10 sc when crocheting the small lightning bolt in 2ply cottons.
Finish off. Sew in the ends and now attach your blue yarn on
the same side, but in the corner of the lightning bolt. See photo below.
Ch 1, and starting in the same space, evenly single crochet in
the end of each row (of the red yarn).
This should give 17 stitches in total. As mentioned above,
you may use more or less stitches, but you want to have a straight, even line
of stitches.
This may be just 12-13 single crochet when crocheting the lightning bolt in 2ply cottons.
Finish off and sewn in the ends.
Below you can see on the left a lightning bolt I made using 2 ply crochet cottons and a 1.5mm hook.
On the right is the finished piece from the tutorial photos above using 8 ply acrylics and a 3.5mm hook.
Below you can see on the left a lightning bolt I made using 2 ply crochet cottons and a 1.5mm hook.
On the right is the finished piece from the tutorial photos above using 8 ply acrylics and a 3.5mm hook.
 |
| I blocked my pieces and sprayed them with some starch to hold their shape. |
You can sew this directly onto a tshirt as an applique,
stick it on your face ala Aladdin Sane (if you do, ping me on Facie or
Instabrag!)
You can glue a felt backing on and attach a badge pin. The
possibilities are endless!
If you make one, take a photo and tag me on Instabrag or post to my Facie page!
If you make one, take a photo and tag me on Instabrag or post to my Facie page!


I love this - so bright and so you! I can remember hearing Bowie had died, and was so shocked! A sad day. especially when you realise how many songs were his.
ReplyDeleteI might just make myself a necklace!
It was so simple Vicki. You should give it a go! Or even invent some new cool symbol. Could you crochet the Prince Love symbol?!?
DeleteForget the necklace bit, just use it as an EYE-PATCH. And maybe button-hole an eye-slit... Or, applique an EYE onto the applique..?
ReplyDeleteGet funky with it, Girlfriend!
Don't make me shazzam it into a toque!
;->
x
I dare you to shazzam it into a toque!
DeleteCute! Thank you for sharing the tutorial at The Really Crafty Link Party this week. Pinned!
ReplyDeleteTHanks for SHaring THat Great stuff. If you want to download infographics for your blog must check here DP Images
ReplyDeleteWow! It’s super easy and adorable
ReplyDelete